
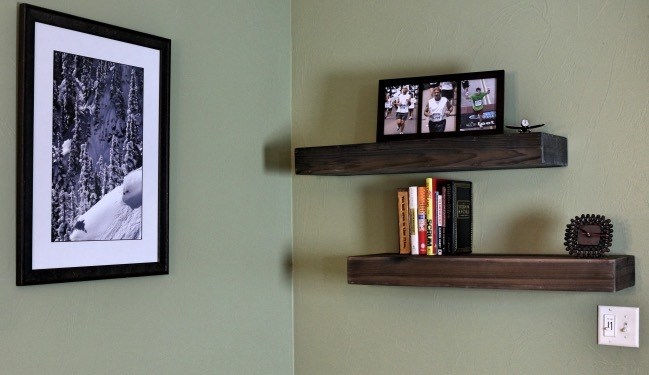
For this week's project, we made a couple of floating shelves. This DIY Wood Floating Shelf project is a great one for anyone looking to get into woodworking and for the more advanced, alike. It's very budget friendly, does not take long to make, and they add a nice touch to any wall. Learn how to make your wood floating shelf below! Be sure to download the free plans here, as well. Best of luck on yours.
Tools Needed
- Circular Saw OR Miter Saw
- Table Saw
- Drill
- Kreg Jig
- Orbital Sander
- Nail Gun
- Tape Measure, Straight Edge, Pencil
- Eye and Ear protection
Need more tool recommendations or curious about the tools I trust and use in my builds? Visit my Storefronts on Amazon and Lowes to find everything I recommend for DIY projects big and small!
Supplies Needed
- Lumber for the frame and shelf - see wood list below
- Steel Wool & Vinegar Solution/Stain (link to video tutorial)
- Water-Based Polyurethane Spray
- 3” Wood Screws
- 1 ¼” Nails
- Gorilla Wood Glue
Approximate Total Cost: $10
The DIY Wood Floating Shelf can be made for about $10 in materials cost. This is the cost for the wood, wood finish, and other basic supplies. *Note: This doesn’t include smaller things you may already have around the shop, including: glue, sandpaper, etc.
Wood Costs
- 1 - 2x4 $3/piece
- 3 - Cedar Pickets $2.50/piece
Cut All of the Wood Pieces
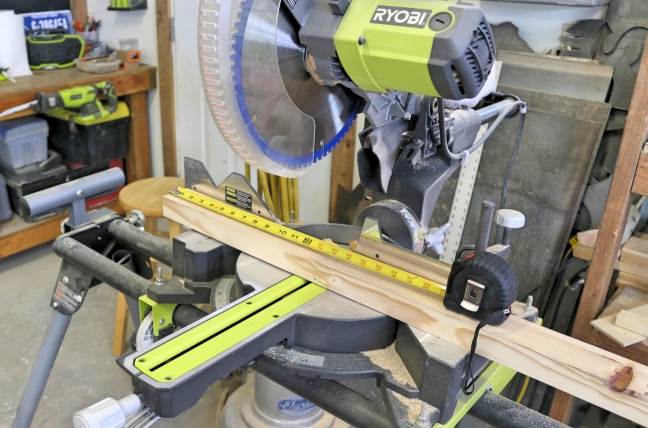
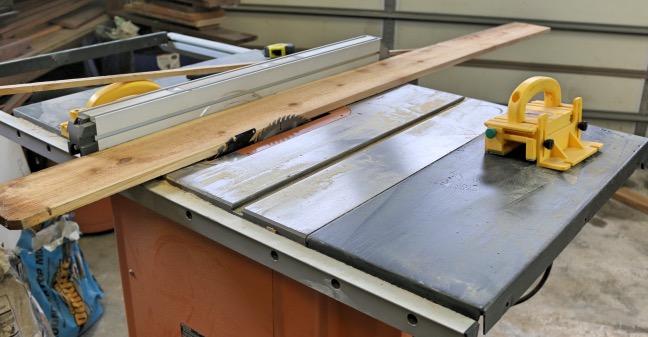
We'll start this project by marking and making cuts for all of the different pieces for the wood floating shelf. It basically consists of the 2x4 wood frame that screws into the studs in your wall and also the cedar picket shelf box that slides onto the frame. Take a look at the cut list in the free plans for dimensions and guidance. Sand the boards, once they're cut to size.
Start Assembly, Making the Frame First
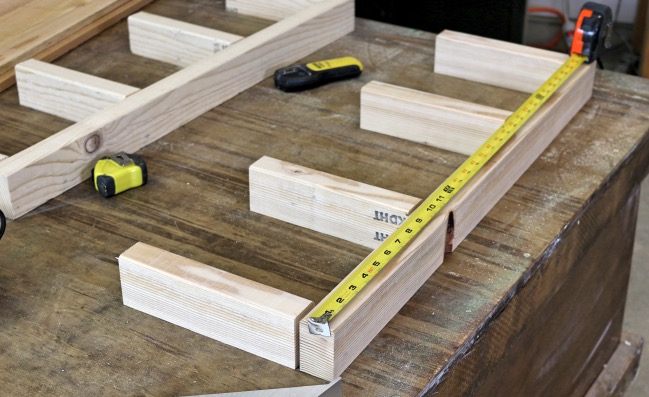
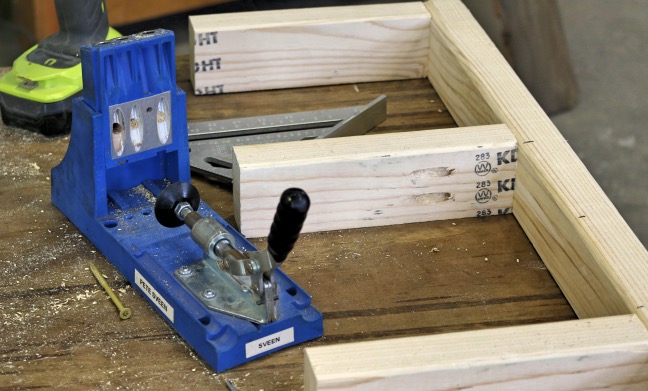
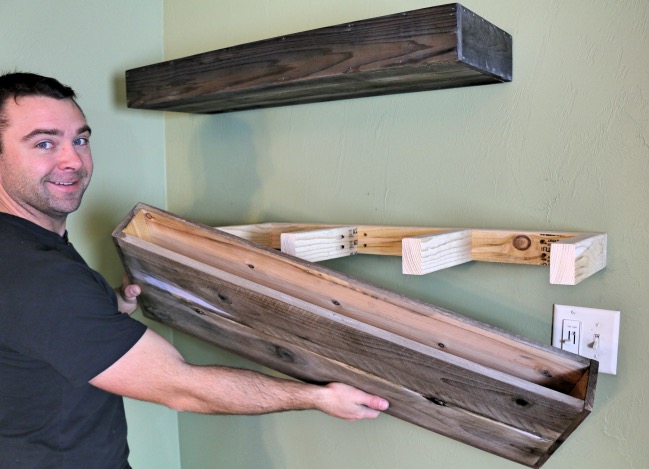
Once you have all of your pieces, we’ll make the 2x4 wood frame that’ll screw into the wall. Kreg Jig (pocket hole joinery) the short boards onto the longer board. Also screw in 3” wood screws from the opposite side, for more security. This frame will be completely hidden on the inside of the cedar shelf box, so once it’s made there is no need to finish this. You can leave it all rough.
Assemble the Cedar Box Shelf
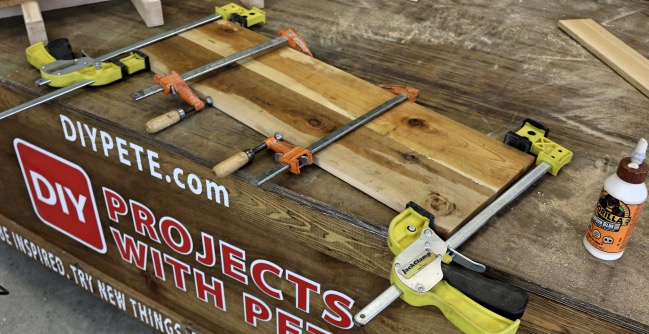
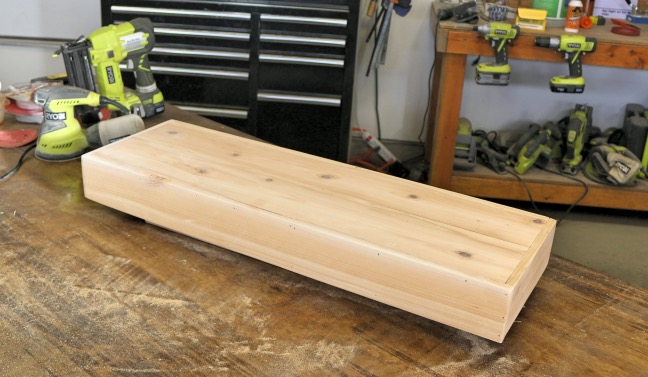
Then we’ll put together the cedar box that will slide over the 2x4 frame, becoming the main shelf and the most visible part of this project. Dry fit all of the pieces to make sure your cuts were accurate, then add wood glue to the joints. Nail everything together with 1 ¼” nails and then let the glue dry.
Sand, Finish, and Let Cure
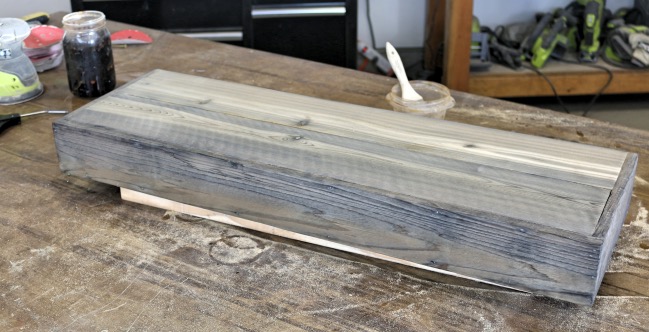
Sand the cedar box down to at least 220 grit with your orbital sander. The finishing process that I did for this project was the steel wool and vinegar solution/stain. Refer to this tutorial video here. Let your solution work its magic for a while and once to the desired color, seal it all up with a water-based spray polyurethane. The water-based sealer ensures that you won’t change the effect, patina, and color of the steel wool and vinegar solution.
Install the 2x4 Frame and the Cedar Shelf
Once the finishing process is done and everything has dried to the manufacturer’s recommended time, we can install it! We’ll first find the studs in the wall, should be about 16” apart. Then we’ll screw the 2x4 frame into the wall with 2 3” wood screws for each connection to the stud. Slide the cedar box shelf on and you’re done!
*Note: If you’re wanting a more secure shelf (maybe the kids could pull the shelf off of the frame) you can simply screw the shelf onto the 2x4 frame from the underside or topside.
Enjoy!
You’ve done the work, now reap the benefits of your DIY Wood Floating Shelf or Shelves, in my case. Add what you want to them and share this project with your friends. Thanks for following along and be sure to check out the free, downloadable plans.

More From DIY PETE
If you enjoy this build, check out some of our other projects below! Also don't forget to check out our plans page for your next weekend project and subscribe to our DIY PETE Youtube Channel to stay up-to-date on our all upcoming projects.
- How to make DIY closet shelves
- How to Make Shed Shelves
- Learn How to Build Custom Bookshelves for Your Home
Cheers!
